
Magnetic tiles are super fun. Today I am sharing one of my very first magnetic tiles marble run diy project. It is also commonly known as marble race or ball run. I made this marble run on the fridge while my mom was cooking. The best part about this marble run is that even when the fridge slides open and shut it remains intact. With a few shiftings to put it back together it never breaks entirely apart. This way I was able to play for a long time and even my little brother enjoyed counting as the marbles run through the structure.
Marble run was first invented by Blaise Pascal and is hence named Pascal’s marble run or Deterministic Galton Board. This project is great for hands on mechanical calculations and learning to build machines that work. Marbles run can be made with cardboard, plastic and other recyclable materials and the ideas are endless. You can create a small or a large runway for your marbles if you like.
My first magnetic blocks set was from picasso and the second from connetix. I love playing with both of them. At first, I was making 3D tall towers and buildings with it. Then me and my little brother started making 2D animals and patterns.
MAGNETIC TILES MARBLE RUN DIY
MATERIAL NEEDED FOR MAGNETIC TILES MARBLE RUN DIY
For the magnetic tiles marble run DIY you will need a surface where magnets stick like a fridge. Marbles or any balls that can run through the marble run. And finally magnetic tiles. I have included the exact count of magnetic tiles at the bottom of this post for assistance.

INSTRUCTIONS TO MAKE MAGNETIC TILES MARBLE RUN DIY
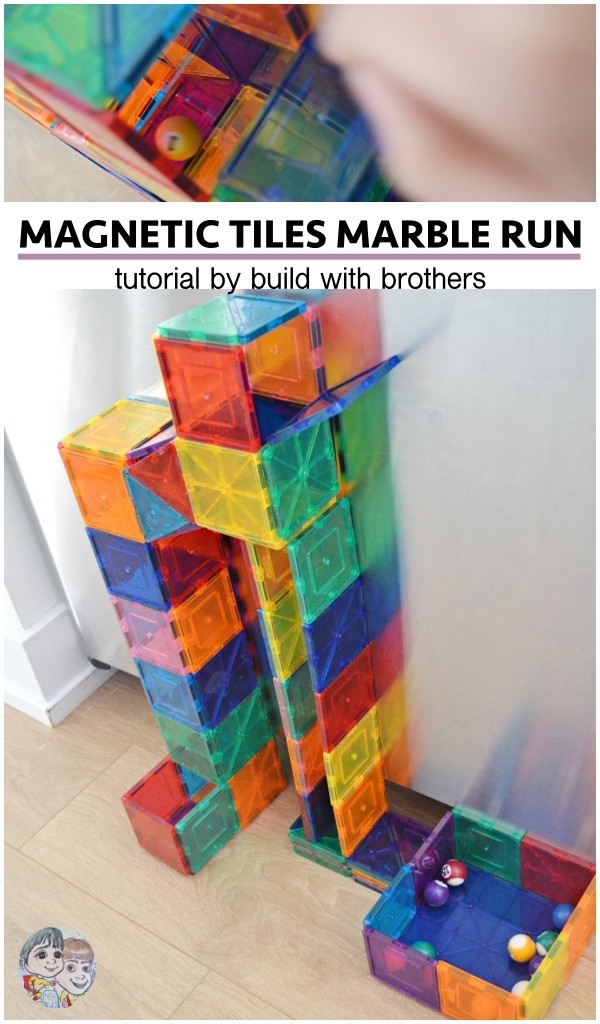
- Start with making a box for keeping the marbles or balls.
- To make the marble run start on the opposite side of the box and make a vertical tube using square magnetic tiles.
- Continue to make the tube until the desired height is achieved.
- Now make pillars for that will keep the horizontal tube in place using a combination of rectangular and square magnetic tiles.
- Once the pillars are made continue to make the tube horizontally as shown in the picture.
- Complete the magnetic marble run with an opening at the top and a bordered base where the ball with end rolling.

VIDEO TUTORIAL TO BUILD MAGNETIC TILES BALL RUN
Here’s a quick video tutorial with instructions to build magnetic tiles marble run with details on every step. I hope you enjoy making it. Let us know in the comments.

NUMBER OF EACH SHAPE MAGNETIC TILES REQUIRED FOR BALL RUN
For this project you will need:
For the ball box
- 1 large square tile (can be substituted with 4 small square tiles)
- 8 square tiles
For the marble run
- 63 squares (if you have limited tiles you can substitute 1 square with two isosceles triangles. I did the same)
- 4 triangles
We used pool marbles for running them through the marble run. The marble run is very sturdy and can handle it’s weight easily. I hope you enjoyed this project.
You may also like:
How to decorate the fridge with magnetic tiles while mom cooks
Follow us at Youtube | Facebook | Pinterest | Instagram

